
Interior painting always looks easier on TikTok. A few quick brush strokes, some trendy music, and voilà – perfect walls, right? But in reality, most Perth homeowners discover halfway through that it’s not quite that simple.
From stripy walls to peeling paint, these common interior painting mistakes can turn your weekend DIY project into a month-long regret.
This guide will save you a heap of time and probably a few arguments. We’ll cover the 20 most common painting mistakes that you can make, why they happen, and exactly how to fix them before it ruins your walls – and your mood.
So, grab your roller and let’s make sure your next painting project looks as good in real life as it does in your Pinterest board.
20 Interior Painting Mistakes Homeowners Make in Perth (And How to Avoid Them)
Painting a room is more complex than it looks. Follow these tips to sidestep trouble and get flawless walls.
⦿ Skipping Dusting Around Windows Before Painting
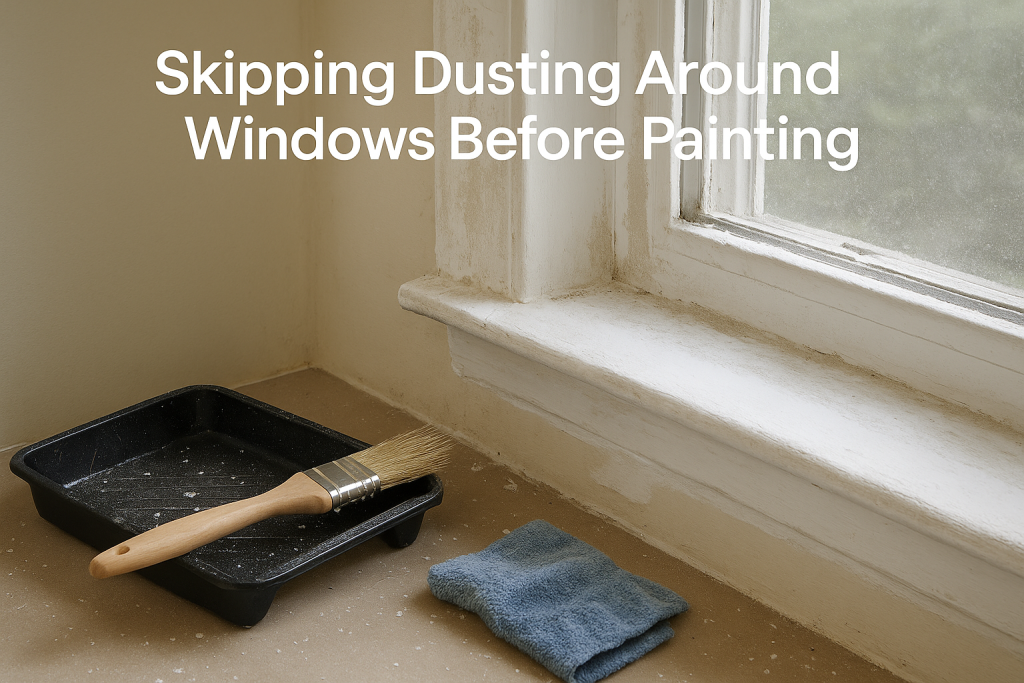
Around windows, it’s tricky enough to paint without a layer of dust in the way. Any dirt or cobwebs left on the frame or sill will show up under a fresh coat. This can lead to bumps and poor adhesion.
How to avoid:
- Vacuum or wipe down the window trim, sill and surrounding walls.
- With an old paintbrush or a soft broom, remove dust from corners and grooves.
- Use a damp cloth to wipe hard surfaces and let them dry.
⦿ Skipping Proper Surface Preparation
Surface prep is the most important key to a lasting paint job. When you paint over dirty or damaged walls, this leads to uneven coverage, visible flaws, and peeling paint. Like painting over leftover grease or old flaking bits will make your new paint chip off easily.
How to avoid:
- Clean first.
- Wash walls with a mild soapy water or trisodium phosphate to remove dirt, grease, or mildew.
- Let surfaces dry completely.
- Fill cracks, holes or gouges with spackle and sand smooth.
- Finally, wipe away dust from sanding.
Only after cleaning and repairs should you prime or paint.
⦿ Failing to Prep Painting Tools
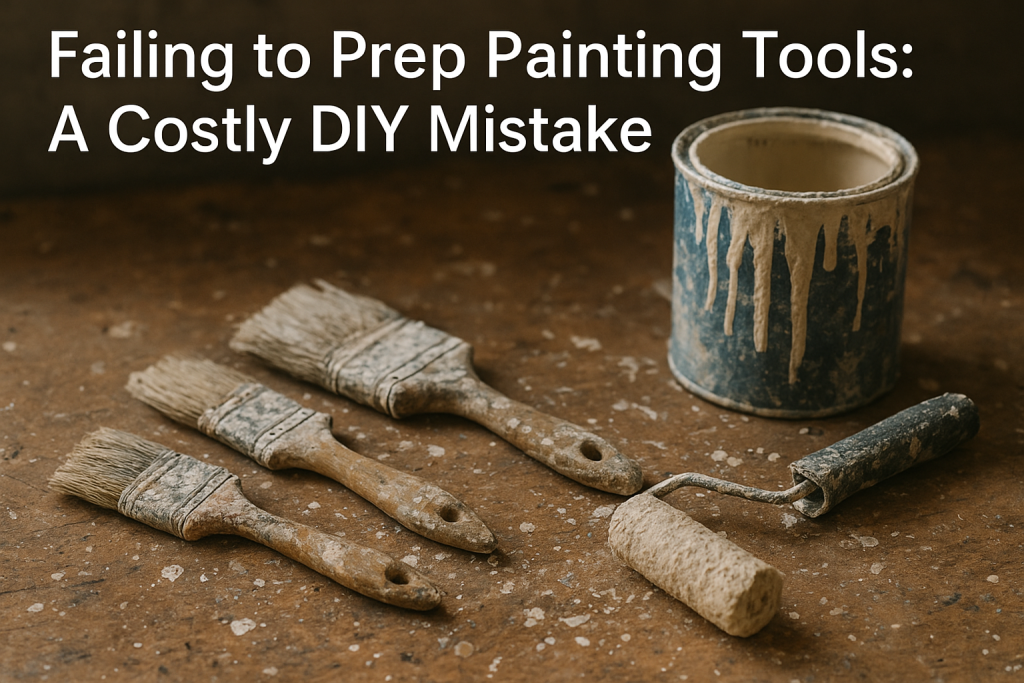
Your tools need prep too. Like, a new roller is usually covered in lint that can create tiny fluff in your paint. Similarly, dry brushes and rollers can drag on the paint.
How to avoid:
Before painting, wrap your roller cover with masking tape (sticky side out) and pull it off. This removes loose lint.
Squeeze excess water from your brushes and rollers. Then give them a quick damp rinse so they’re moist before use. Taping and wetting tools prevents stray fibers. Also, it helps them pick up paint evenly, giving a smoother finish.
⦿ Skipping Sanding Before Painting
Glossy gloss or rough edges showing through your paint? Sanding solves that.
You know how? It creates tiny scratches that help new paint adhere better and last longer. So, a light sanding with 120-grit paper on walls and trim is a key to smooth, professional look.
How to avoid:
- With a sanding block or pole sander, scuff the entire surface lightly after cleaning and filling holes.
- Pay attention to shiny spots, rough patches or drips from previous jobs.
- After sanding, vacuum or wipe away the dust.
⦿ Skipping the Primer
People usually skip primer to save time. But it’s the most critical step. A primer sealant ensures colour payoff and longevity. It seals porous surfaces like new drywall, bare wood, helping paint bind to glossy or oily old layers. Additionally, primer hides stains and prevents old colours from bleeding through.
How to avoid:
- Always apply at least one coat of a quality primer on bare or repaired walls.
- Use primer before repainting a dark wall in a light colour (and vice versa).
- Also, prime raw wood or patched areas. This creates a uniform surface so your topcoat looks even and vibrant.
⦿ Using Low-Quality Paint
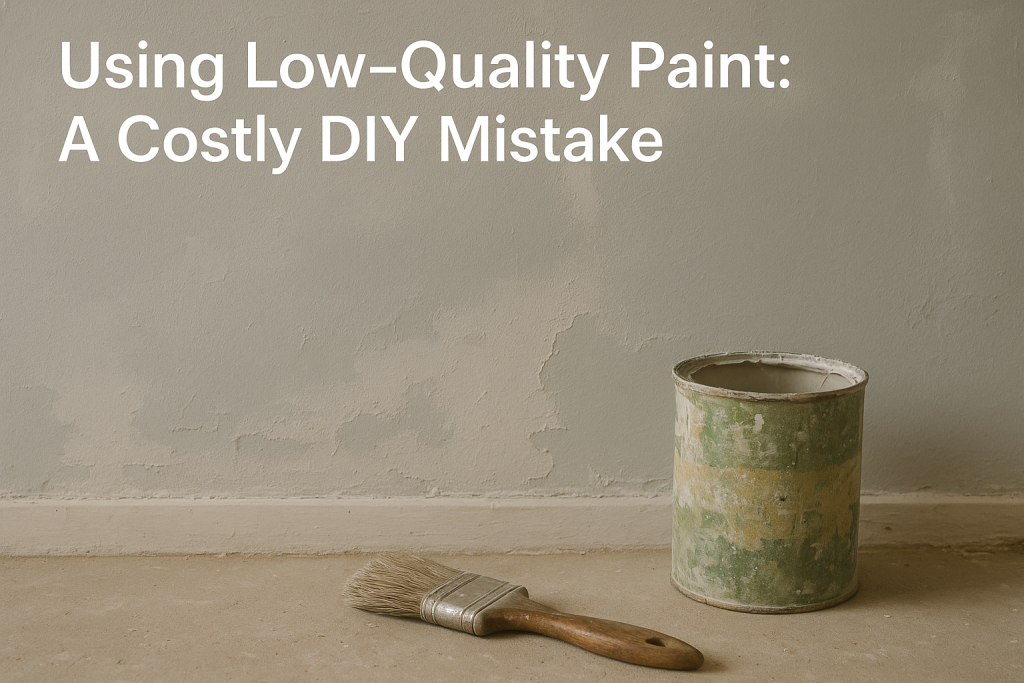
Investing time in prep, only to use cheap paint, mostly backfires. Low-grade paint can look dull and wear out quickly. Quality paints contain stronger pigments and binders that give better coverage and resistance to wear.
How to avoid:
- Choose paints from the reputable paint brands.
- Look for interior paints labeled washable or with longevity guarantees.
- Check the sheen too: a higher sheen (satin or semi-gloss) is more durable in busy rooms.
- Read labels and ask experts at your paint store.
- When in doubt, ask a pro painter for recommendations.
⦿ Choosing the Wrong Paint Sheen for the Room
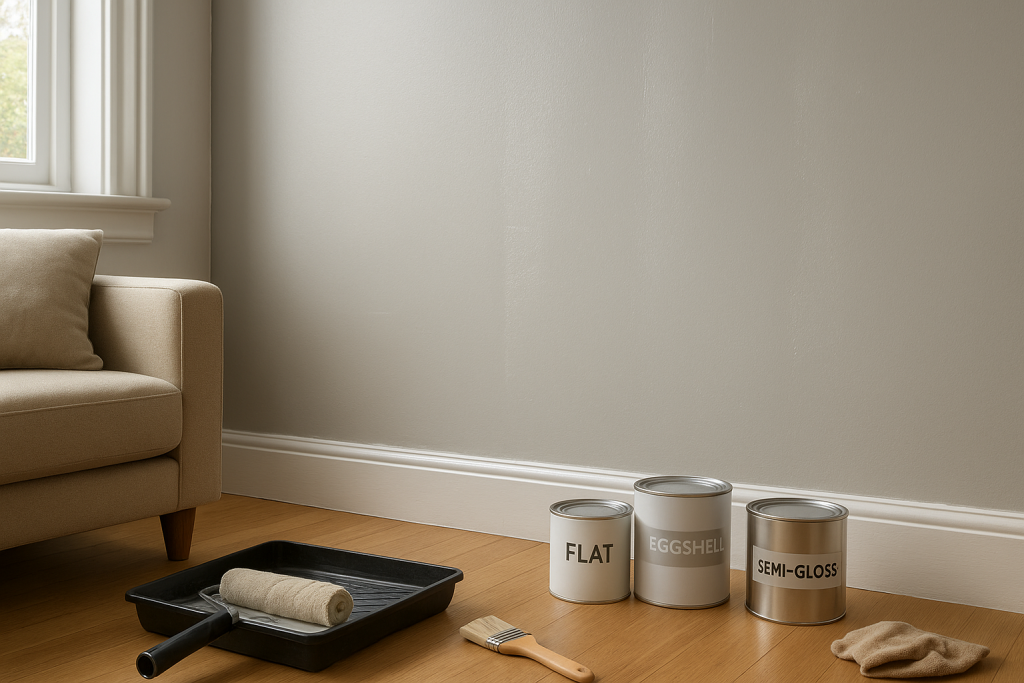
The sheen (flat, matte, satin, gloss) drastically affects how a room looks and wears. Ceilings usually aren’t perfectly smooth. So, a flat or matte ceiling paint hides flaws. But walls usually benefit from a bit of gloss as it resists moisture and is easier to clean. A shiny gloss on rough walls will highlight every bump.
How to avoid:
- Balance practicality and preference.
- Use flat/matte on ceilings and low-traffic areas.
- Use satin or semi-gloss on walls and trims that might get scuffed.
- Live near the coast? Means high humidity. Glossy finishes can help repel moisture.
Remember, the glossier sheen reflects light and highlights imperfections, so avoid excessive gloss on uneven walls.
⦿ Painting in Inappropriate Conditions
Environmental conditions matter even indoors. High humidity, low temperature or poor airflow can ruin drying. Perth’s climate swings between dry summers and rainy winter. High humidity traps moisture and lengthens drying time which can cause peeling. Likewise, very dry air makes paint set too fast and crack.
How to avoid:
- Pick mild, dry days to paint. Ideally in winter or spring.
- On hot or humid days, run a fan or open a window to ventilate.
- Look for 20–80% humidity and 15–30°C for best results.
- If painting indoors in summer, use air conditioning or dehumidifiers.
In short, good ventilation and moderate temps help paint adhere and cure smoothly.
⦿ Applying Water-Based Paint Over Oil-Based Paint
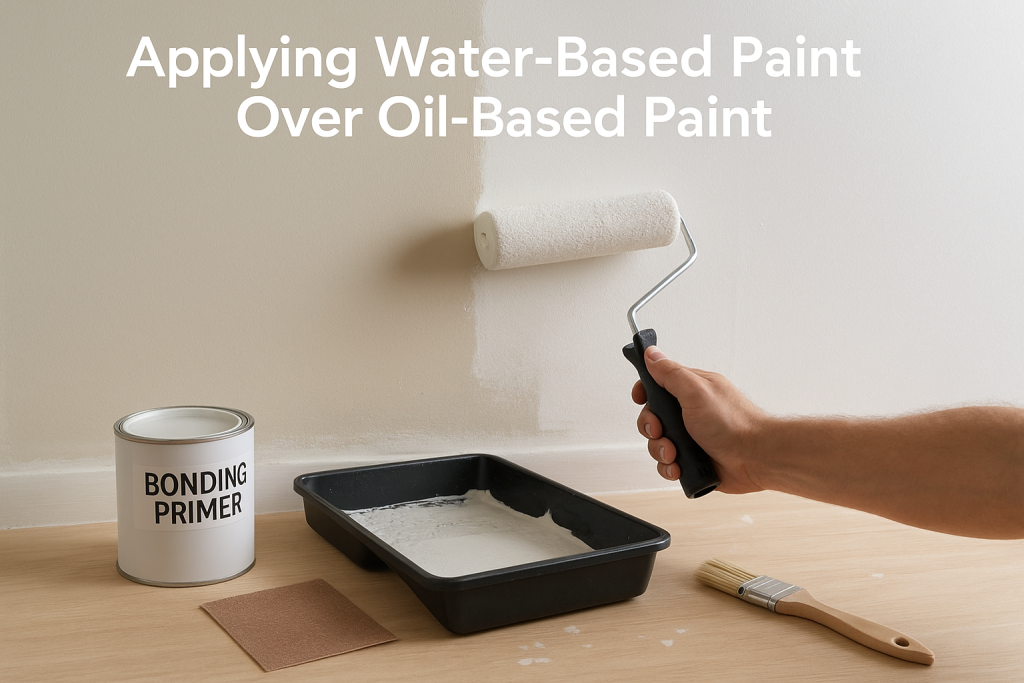
This is the major cause of peeling paint. Latex (water-based) simply won’t stick to glossy oil enamel unless prepped.
Before repainting, test the old paint type: rub a cotton ball soaked in methylated spirits on the wall. If paint rubs off, it’s latex; if not, it’s oil.
How to avoid:
Always identify the existing paint with the metho test. If it’s oil-based, rough-sand it lightly (220–320 grit). And apply a bonding primer designed for oil substrates before adding latex paint. This ensures a strong bond and prevents flaking.
⦿ Skipping Colour Tests – Not Trying Paint Samples First
Choosing your dream colour from a tin? It’s risky. Consider light, shadows and wall texture. They can make the actual shade look different. A wall colour under artificial light may look miles from that sample card or your imagination.
How to avoid:
- Buy small test pots (sample sizes) and paint patches on the actual wall.
- Apply two coats and observe them once dry.
- Test on multiple walls because corners and windows change the light.
- Don’t rely on the paint store’s lighting.
- See it under your home’s lights. This way you avoid ending up with a colour you dislike.
⦿ Not Comparing Paint Samples in Different Lighting
Continuing the testing tip. Even test patches can fool you if not viewed right. For example, a pastel colour can look muted in warm incandescent light or vibrant in daylight.
How to avoid:
After painting sample swatches, take time at different times of day to check them. Also use your usual evening lighting. This will make sure the final room tone feels as expected under all light.
⦿ Using the Wrong Painting Tools for the Job
The right tools make the job faster and neater. In an interior painting, long-lasting finish is the goal. So, choose high-quality equipment to achieve that uniform surface finish and coat.
How to choose the right paint brush:
- For latex/water-based paints, use synthetic (nylon/polyester) brushes. They shed less and give a smooth finish.
- For oil-based paints on wood or trim, natural bristle brushes hold more paint and cut in smoothly.
- Keep a variety:
- large flat brushes for big areas.
- angled sash brushes for corners.
- small detail brushes for trim.
How to choose the right roller for interior painting:
- Match the pile (nap) thickness to the wall texture.
- For smooth drywall, use a ¼–⅜ inch nap roller.
- For lightly textured walls or ceilings, ⅜–½ inch is best.
- For rough surfaces (stucco, concrete), go thicker (¾–1 inch).
- And before rolling, run a piece of painter’s tape over a new roller to remove stray lint.
⦿ Overloading Brushes or Rollers
It’s tempting to dunk and keep painting. But too much paint on your tool causes drips and uneven coverage. Paint will run down walls if the brush or roller is saturated.
How to avoid:
- When dipping, only load about one-third of the brush hairs or roller pile into the paint.
- Tap or scrape off excess on the can’s rim. This prevents blobs of paint falling off.
- Work in thin, even coats, reloading your tool often with a small amount.
⦿ Not Using Painter’s Tape for Clean, Crisp Edges
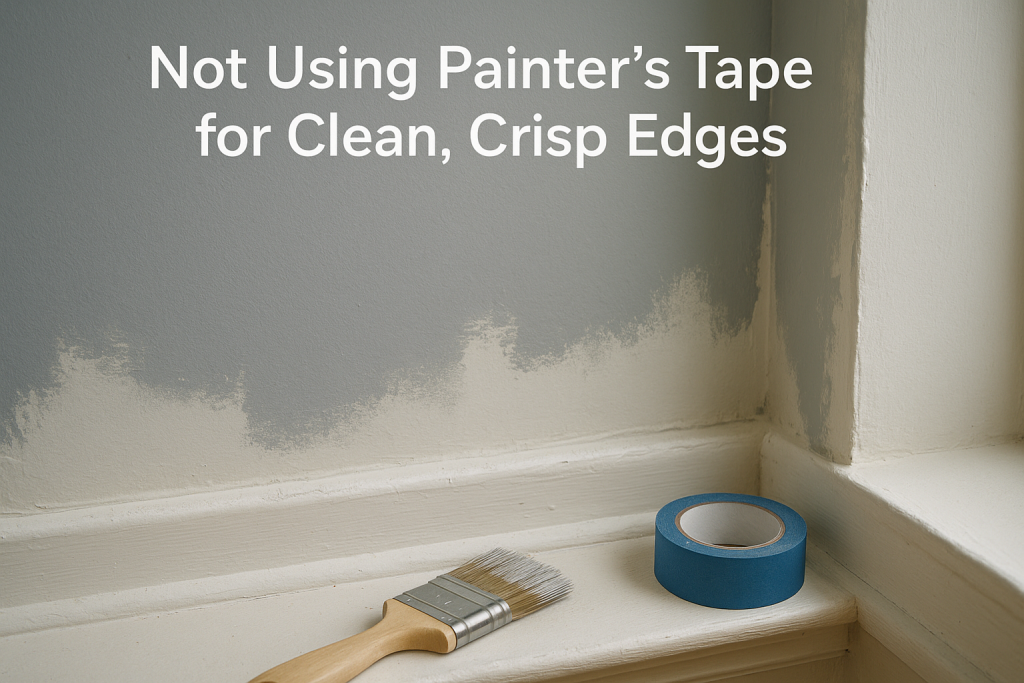
Painter’s tape isn’t just for pros; it’s your friend for neat lines. Skipping tape leaves wobbly edges between surfaces e.g. wall to ceiling, around trims. Zigs and zags or sloppy corners will show up on close inspection.
How to avoid:
- Apply quality painter’s tape along all edges and trim before you paint.
- Press it down firmly to seal especially on textured or dusty surfaces.
- Wait until paint is completely dry before removing the tape to prevent smears.
- When removing, pull slowly at a 45° angle, or score the edge with a utility knife first to cut the film.
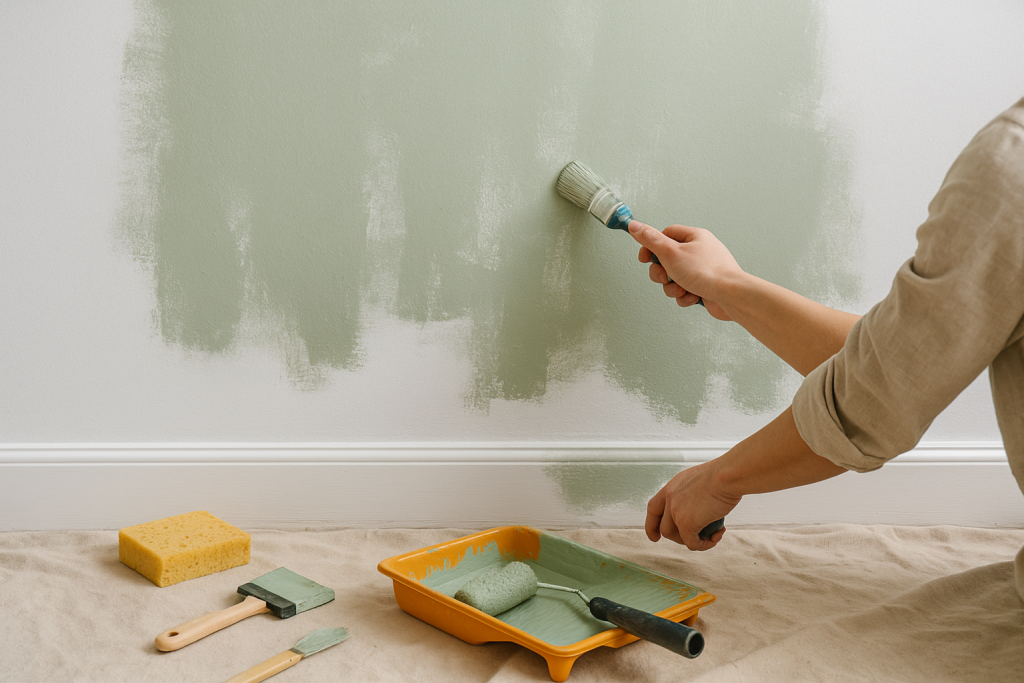
⦿ Painting in the Wrong Order
Painting walls before ceilings? You risk drips and overlap marks from the ceiling work. Conversely, starting at the top lets gravity work in your favour.
How to avoid:
It’s almost always top-down; ceiling first, then walls, then trim.
Always start with the ceiling. Any drips from ceiling paint can be covered when you paint the walls afterward. Once the ceiling is done and dry, tape it off and do the walls, ending with trim or baseboards.
⦿ Overbrushing (Brushing on Partially Dried Paint)
Going back over the same area after it’s just started to dry? You’ll see brush strokes and ridges. Overbrushing usually happens when you try to force coverage instead of letting the paint level itself. The result is streaky walls.
How to avoid:
- Paint with smooth, even strokes.
- Don’t double-brush areas once the paint begins to set.
- Maintain a “wet edge” by overlapping slightly into the still-wet paint each time.
- If brushing shows marks, switch to a roller for large areas to blend lines.
- For crisp results without stress, consider hiring local professionals; Final Touch Paint & Décor’s Residential Painting Services in Perth deliver perfect finishes without any worry.
⦿ Applying Too Many or Too-Thick Coats at Once
Thick, wet layers of paint dry unevenly. They usually sag or trap solvents underneath. This leads to cracking or peeling. Also, painting over paint that’s still tacky can lift off the undercoat.
How to avoid:
- Apply multiple thin coats, not one heavy coat.
- Follow the paint can’s instructions on drying time between coats.
- Wait at least a few hours or until the surface is no longer tacky. This will make sure each layer is properly cured and adhered. Patience here pays off as thin layers dry smoothly and build up an even, durable finish without runs.
⦿ Leaving Missed Spots and Uneven Lines
It’s easy to miss a corner or an edge, especially if lighting is poor. These gaps cast shadows and ruin the uniform look. The problem is more noticeable under certain lights or angles.
How to avoid:
- After the paint has dried, step back and inspect carefully in good light.
- Look along edges, corners, and any intricate trim for thin coverage.
- Mark any missed spots, then touch them up with a small brush.
- Blend the edges into the existing paint.
⦿ Ignoring Cleanup
Seems boring? Yes, but cleaning your brushes, rollers and trays after use will save you effort later. Dried paint gunk can ruin brushes and make the next job messy.
How to avoid:
Properly cleaned brushes last longer and perform better. So, immediately after finishing or when pausing overnight, clean your tools.
How to clean your painting tools:
For water-based paint, wash brushes and rollers thoroughly with warm water and soap until no color remains. For oil-based paint, use the recommended solvent (mineral spirits or turps).
Further, remove drop cloths and tape. If you leave tape on too long it might peel freshly painted surfaces.
⦿ Neglecting Ventilation and Safety
Painting in a poorly ventilated room? It will expose you to fumes and slow drying. Similarly, working in confined humid conditions can make paint tacky.
How to avoid:
Safety first – comfortable air helps both you and the paint finish:
- Always paint in a well-ventilated area.
- Open windows and doors.
- Use fans to circulate air.
- When indoors, especially in smaller rooms, low-VOC paints are a healthier choice.
- Wear a respirator mask if ventilation is limited. This protects you from fumes while ensuring the paint cures properly and quickly.
FAQs About Interior Painting in Perth
► What common interior painting mistakes do Perth homeowners make?
In Perth, most interior painting errors come from skipping prep (dusting, sanding, priming), using poor-quality paint or the wrong sheen, painting in bad conditions, or working in the wrong order. These painting mistakes cause peeling, patchy coverage and short-lived results.
► How does Perth’s climate cause paint problems?
Perth’s hot sun, strong UV and coastal salt can fade and weaken finishes. Whereas, humidity swings slow drying and cause blistering. Thus, your interior painting projects need climate-aware materials and timing.
► Which paints and methods prevent fading, blistering or salt damage?
Use premium UV-resistant or salt-resistant formulations. Apply a quality primer and use two thin coats rather than one thick coat. These simple steps avoid common painting mistakes on coastal or sun-exposed walls.
► How do I tell whether the existing paint is oil-based or water-based?
Do the methylated spirits test: rub a cotton ball with metho on a hidden spot. If paint comes off it’s water-based, if not it’s oil-based. If it’s oil-based, sand lightly and apply a bonding primer before repainting.
► When is the best time to paint exterior and interior in Perth?
Aim for mild, dry months; Autumn or Spring. For exterior painting; choose March–May, Sept–Nov. Interior painting can be done year-round but avoid very humid or unventilated days so paint cures properly.
► What surface-preparation steps prevent flaking, mould and adhesion failures?
Clean with mild detergent or mould cleaner, sand flaking areas, fill cracks, and apply a quality primer (use mould-inhibiting primer in damp spots). Proper surface preparation is the single best defence against paint mistakes.
► How to fix painting mistakes quickly?
For fresh runs: smooth while wet with a brush/roller. For dry drips or rough spots: sand flat, wipe dust, then touch up with matching paint. These quick fixes will fix painting mistakes without redoing the whole wall.
Tired of fixing the same interior painting mistakes over and over?
Want a gorgeous home without the DIY headaches?
Hire Perth’s Expert Interior Painters Today
Final Touch Paint & Décor brings a fresh look to your interiors with precision and care.
We offer professional exterior and interior painting in Perth that avoids all the DIY pitfalls. Our experienced team will handle every step, from prep and priming to perfect cutting-in. We use top-quality products, follow the right techniques (including all the tips above!), and guarantee a clean, durable finish.
Stop struggling with stubborn paint mistakes on your own.
Contact us now for a free quote and let Perth’s painting pros revitalise your space.