
Fed up with your deck or fence getting dull or peeling off in just months after a paint?
Decks and fences in Perth face scorching sun, varying rain patterns, and airborne dust. Hence, there are more chances of see peeling, discolouring, or fading before you expected.
The solution? Your fence & deck painting Perth should be as durable as the weather demands. All you need is a quality paint and a correct application method. So, your paint can handle everything Perth climate throws at it. And you can save your money, time & effort.
So, if you’re planning deck & fence painting Perth, this guide is for you.
It’ll walk you through all the pitfalls we’ve witnessed, their long-term effects & how to avoid them. Because, we’ve seen all that can go wrong or right in our years of experience at Final Touch Paint & Décor. And we know exactly what to do & what to avoid.
Let our experience guide you.
Why Deck & Fence Painting Is Vital in Perth?
Perth’s weather is a mix of bright sun, sudden showers, and breezy days. It all gives outdoor timber or metals a real beating.
Our UV rays fade and dry out the wood. While the winter rains and coastal moisture lead to peeling or mildew. To avoid all that, you need a well-applied weatherproof deck paint or stain. It will create a barrier & block the moisture, sun & everything in between.
So, you can save big bucks in replacements or paint repetitions, enjoy a shining deck for years and even maintain your property value.
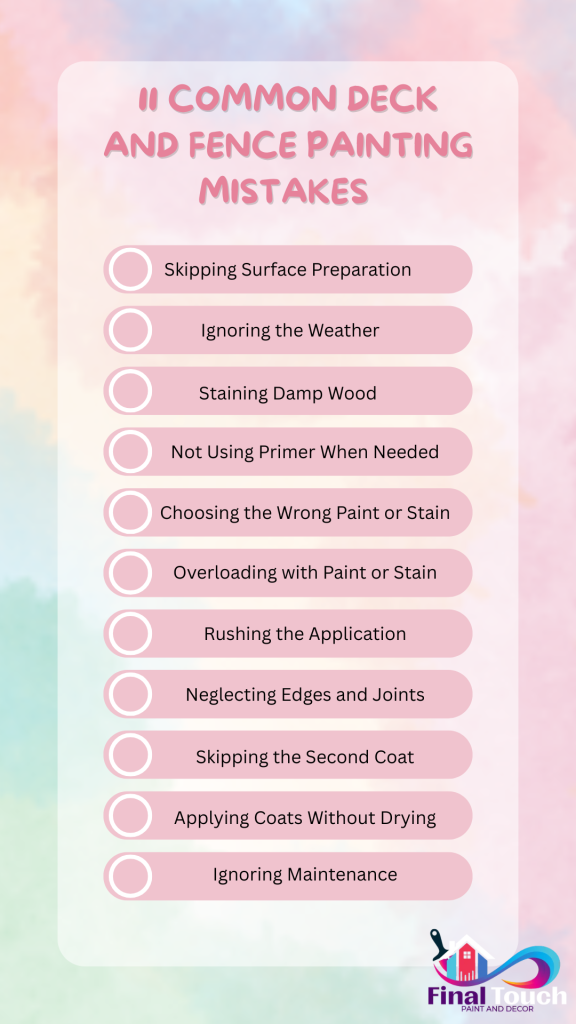
11 Common Deck and Fence Painting Mistakes
We’ve seen people continuously changing brands and still not getting the results. Because the problem was not in paint quality but the mistakes in application process.
So, we’ve compiled all the practices we suggest not to repeat, and save the regrets later.
1. Skipping Surface Preparation
When surfaces aren’t cleaned and sanded properly. Layers of dirt, mould, old paint, or oils from plants and barbecues will be left underneath. And your fresh coat will bubble, peel, or flake in no time, doesn’t matter how fine it looked on day one.
We always clean the surface with wood-safe cleaners first, to kill mould spores, lift grime & strip old coatings. In some cases, we lightly pressure wash too, without damaging the grain.
Then we sand down rough patches, feather out edges where old paint has chipped, and strip back sections that are beyond saving. This way, you’ll get a smooth & clean base. And the paint or stain actually bonds with the timber instead of sitting on top like a sticker.
2. Ignoring the Weather
Perth weather swings quickly from calm sunshine to windy or rainy & affect your paint.
Timber fence painting on a scorching 35°c day? Your paint will dry too fast, and leave streaks and roller marks. Chosen a humid, rainy morning? The finish stays tacky, won’t cure properly, and dust particles will stick to your wet paint.
Always check the weather forecast days in advance and plan accordingly. Ideal conditions? 15–25°c day, low humidity, and no rain predicted for at least 24–48 hours. Early mornings or late afternoons are the perfect time, because mid-day heat will bake your paint.
3. Staining Damp Wood
Moisture is timber’s worst enemy. When you paint or stain damp wood, you’re trapping that water inside. Over time, it tries to escape & cause blistering, peeling, or encourage mould and mildew to grow under the surface.
Hence, if the timber looks darkened, feels cool, we suggest you to wait. A water drop test can also clear things up (water drop beads up on dry timber instead of soaking in). Mornings in Perth are dewy. So, hold off until mid-morning when the surface has dried naturally.
On professional level, we use moisture meters to check dryness before applying any product.
4. Not Using Primer When Needed
Raw wood is like a sponge. It soaks up paint unevenly, leave the blotches & affect coverage. So, we need to apply primer on it. It is the first seal coat which stops timber from drinking up paint and gives topcoats something solid to grip.
Skipping it means faster fading, patchy colour, and reduced durability.
We always recommend an exterior wood primer to use with timber deck paint. It evens out porosity, blocks tannins from bleeding through, and makes the final colour sharper.
5. Choosing the Wrong Paint or Stain
We’ve seen people use leftover interior paint outside too. It looks great for a week, then chalks, peels, and leaves bare patches. Oil-based stains used in shady areas make surface sticky and attract dirt.
Even some “budget” exterior products fade within months under Perth’s UV intensity.
We always pick paints and stains labelled for exterior timber & Australian conditions. Weatherproof deck paint with UV blockers resists fading, while stains give natural timber look without peeling. Choose according to your budget but don’t forget quality.
6. Overloading with Paint or Stain
Everyone thinks more is better, but it’s not always true.
Too much paint forms a thick skin on top of the wood instead of bonding with it. This skin cracks as the timber expands and contracts with Perth’s hot days and cool nights.
Plus, heavy stain turns sticky and uneven, and leave shiny, blotchy spots.
Our rule? Thin & even coats. Two or three light applications always last longer than one heavy slop-on. We brush or roll with just enough product to cover smoothly and make a thin layer. The result is a durable finish that breathes with the timber.
7. Rushing the Application
Painting a fence feels boring to most people (not us) & temptation is to speed through. But you should know that rushing leaves roller lines, drips, missed spots, and inconsistent colour. Worse, overlapping dried edges creates patchy, uneven sheens that stand out in sunlight.
So, keep your calm and do wood fence painting methodically.
That means working in sections, maintaining a wet edge, and changing the brushes or rollers. E.g. angled brushes for edges, rollers for flats, and sprayers for large & open fences. Taking the time now means you will not be redoing it six months later.
8. Neglecting Edges, Joints & Undersides
One signature thing a noob does is to paint what is visible and ignore what is not. But the truth is, moisture loves to hide in undersides, corners, and joints. These untreated areas soak up water, swell, and eventually rot the boards you just painted.
Think of painting like sunscreen for the deck, you wouldn’t cover just half skin, right?
We always flip boards when possible, seal edges before installation, and pay extra attention to posts, joins, corners and bottom rails. Every side of the timber should get protection.
9. Skipping the Second Coat
After one coat, your deck or fence starts looking decent, & tricks the rookies to stop there.
But experts know that one coat rarely gives full UV or moisture protection. It’s like wearing one layer of thin clothing in winter. You’re not exposed, but not protected either.
A second coat deepens the colour, strengthens the barrier & gives consistent coverage. Even in hard-to-see grain grooves. In Perth’s climate, where the sun is unforgiving, we always recommend two coats, sometimes even three for heavily exposed decks.
10. Applying Coats Without Proper Drying Time
Fresh coats look dry after a few hours, but underneath, solvents may still be evaporating.
If you rush and add another coat, you trap solvents inside. That can lead to bubbling, soft surfaces, poor adhesion, and peeling just in weeks.
We stick to the manufacturer’s recommended drying times, but also adjust for Perth’s conditions. On hot dry days, coats cure faster. But on cooler damp days, they need longer time. It is better to wait an extra 12 hours than ruin days of work.
11. Ignoring Maintenance
Even the best finish doesn’t follow “set and forget” principle. Over time, mould spores can creep in, dust builds up, and UV will eventually dull the colour. We’ve seen too many homeowners investing in a beautiful finish, and let it fail through neglect.
Our deck maintenance tips Perth are simple:
- Sweep and wash your deck every few months
- Check for chips or cracks after each season
- Reapply oil or stain every 12–18 months depending on exposure.
Small efforts keep your timber looking fresh and prevent costly re-coatings.
Additional Pro Tips We Use in Perth
Need some more guidance in deck painting Perth? Follow these pro tips for better results and lesser regrets.
- Test patch first on a small board to check how colour turns out and how even coverage is. Timbered surfaces absorb differently based on wood type.
- Protect surrounding areas like plants, paving, or your neighbour’s fence from splashes. Put drop cloths or shield with cardboard.
- Don’t paint rotten boards because even the best paint won’t fix structural decay. We inspect closely and replace damaged planks or panels prior to painting.
- Choose suitable colour or gloss. Light colours reflect heat better and reduce warping. While glossy finishes are easier to clean but show joins easily.
- Make a choice between stain and paint. Stains penetrate for natural look and lower maintenance, while paint offers more colour variety and coverage.
When Should You Consider Hiring A Pro?
DIY sounds cool, until you actually start doing it. Painting demands the right knowledge, products, and expertise. Otherwise, it can cost you time, materials & frustration.
If you’re unsure about how to paint a fence in Perth, worried about surface prep, or want a weekend off. We recommend calling professional fence painters Perth. We bring years of experience, time-saving tools, weather timing, and eco-friendly paint options.
Searching for Professional Fence Painters Perth?
Get Durable Outdoor Painting with Final Touch Paint & Décor
At Final Touch Paint & Décor, we specialise in timber fence painting, deck oiling Perth, and full outdoor protection. Our team uses eco-friendly paints, premium techniques, and pays attention even to unseen areas.
We treat your home like ours, carefully, honestly, and to last.